How to Unlock Big Savings with MOQ1 Mix & Max Wholesale
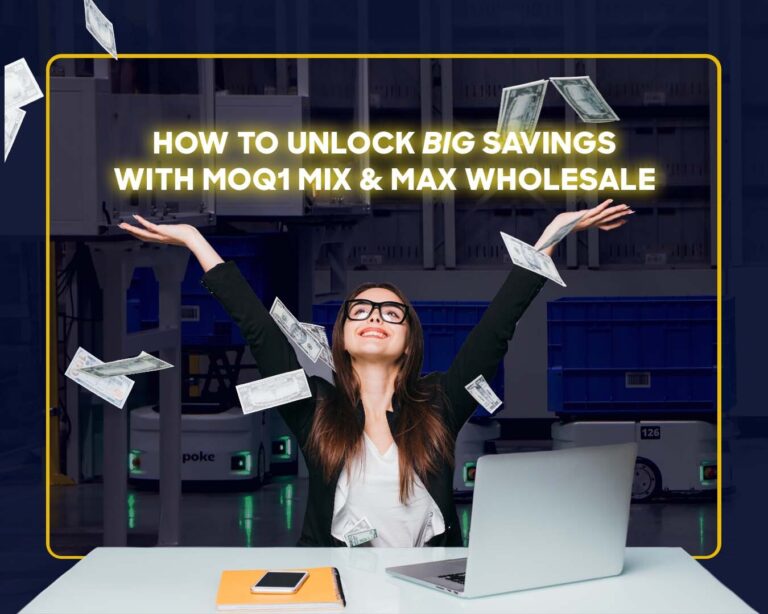
Whether you’re restocking for a client, fulfilling a large team order, or just want to boost profits with high-volume sales, MOQ1’s Mix & Max Wholesale™
Whether you’re restocking for a client, fulfilling a large team order, or just want to boost profits with high-volume sales, MOQ1’s Mix & Max Wholesale™
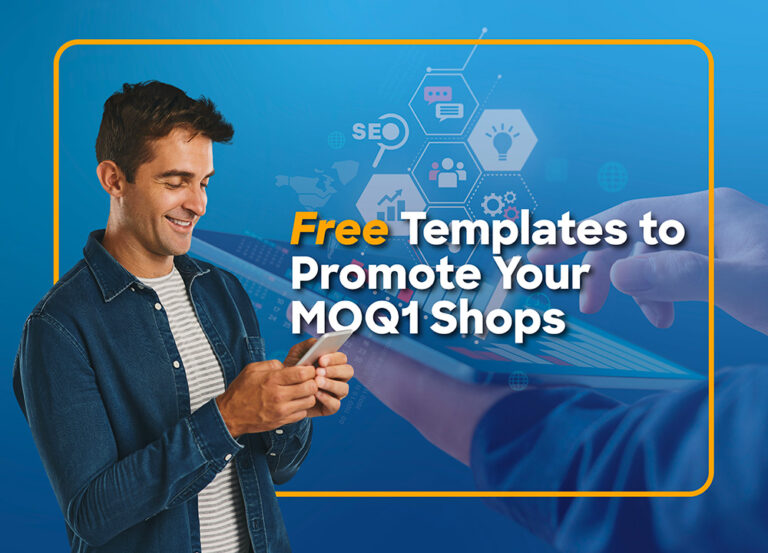
At MOQ1, we’re all about making things easier. And that includes your marketing. Whether you’re building your first client shop or looking to attract more

One of the fastest ways to grow your promotional products business in 2025 is by reconnecting with past clients, and giving them a tool that

The best time to build momentum for your client’s webstore is right now. Two powerful features to drive early engagement are the Kick-Start Promo and

So, you’ve set up your client’s MOQ1 online store… now what? It’s time to build excitement and show your client what you can do with
Shop Administrators and Shop Creators have the ability to grant new users access to certain features of the platform and share profits with those users.
Creating a Payable/Payee enables profit-sharing for sales within your shops. When your company receives commission payments, each payable created will be listed as a line

Every account that’s created falls under one of 3 account types based on the main function of that account. Each account type has its own